Ever received a gift and thought, “wow, that looks amazing!” before even seeing what’s inside? That’s the magic of tissue paper done right!
Whether you’re a retailer wrapping up a customer’s purchase or a gift-giver putting the finishing touches on a present, knowing how to put tissue in a gift bag makes ALL the difference.
The good news: It’s easier than it looks to achieve impressive tissue paper in every gift bag, just by using these five simple steps!
How to Use Tissue Paper in a Gift Bag in 5 Steps
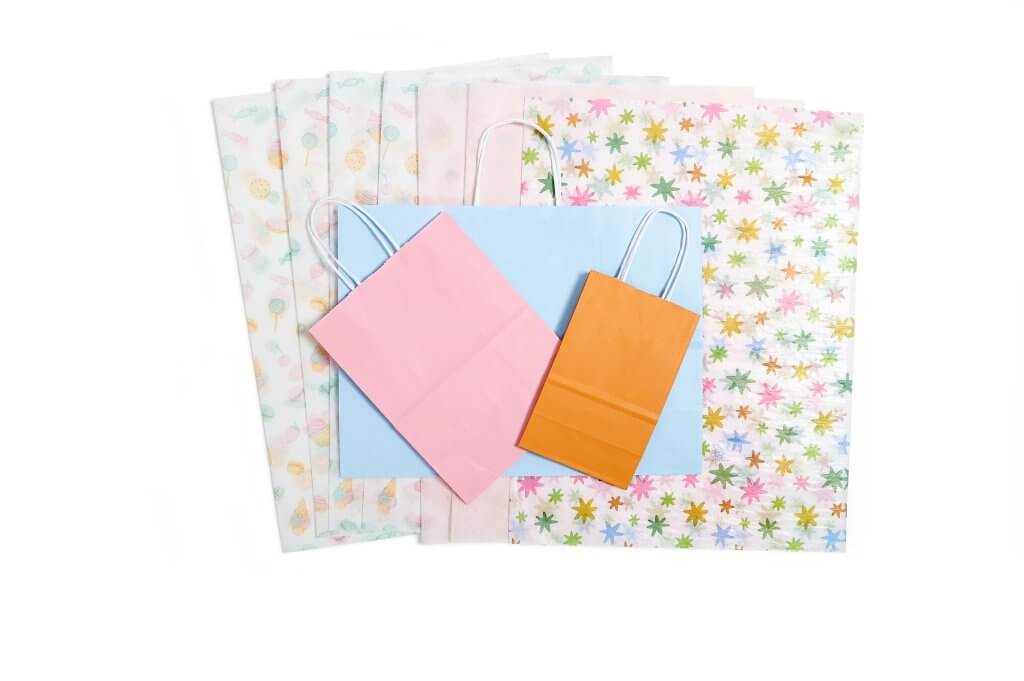
Before you get started, here’s a quick guide to how much tissue paper you’ll need depending on your bag size:
- Small “Rose” size bags = 1 sheet (or even half a sheet!)
- Medium “Cub” size bags = 2 sheets
- Large “Vogue” size bags = 4 sheets
Don’t be afraid to mix and match colors or add a fun printed sheet for extra personality!
Step 1: Wrap Your Gift
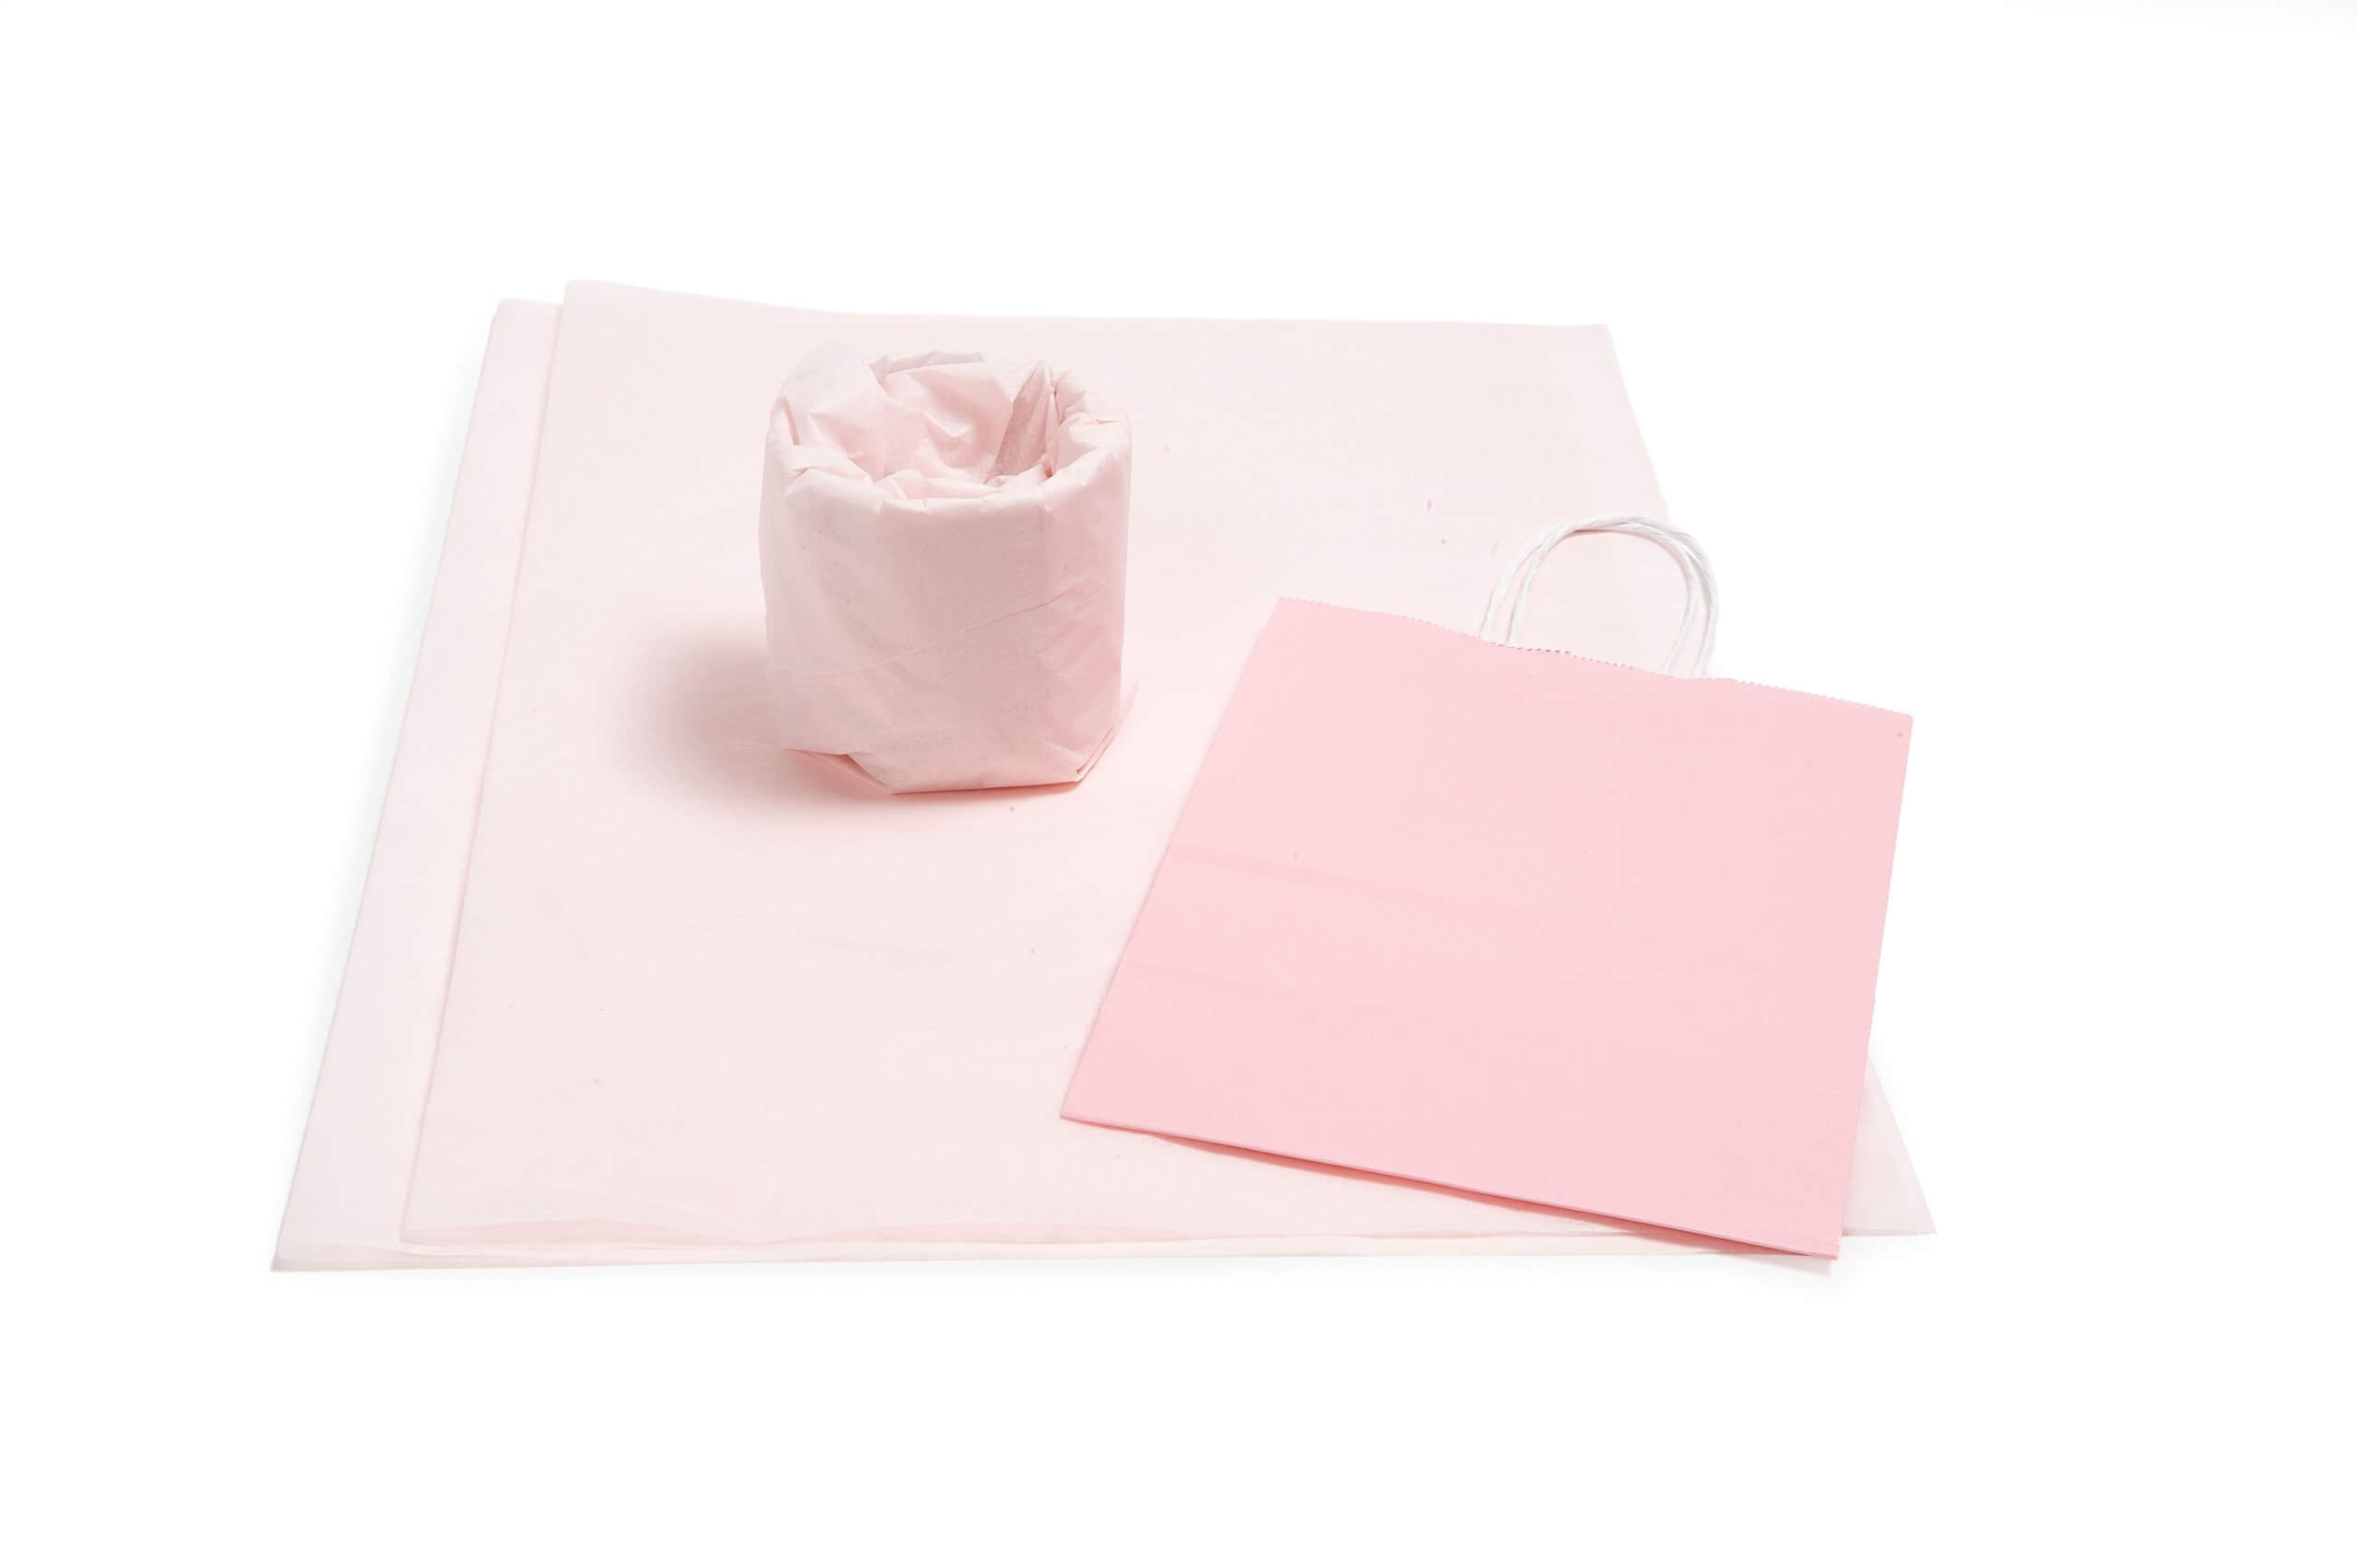
If your item is fragile or awkwardly shaped, start by wrapping it loosely in tissue paper, packing paper, or bubble wrap before placing it in the bag. This adds a little cushioning and keeps the gift hidden once it’s inside.
Not fragile? No worries, just skip ahead to Step 2!
Step 2: Check Your Bag’s Orientation
Here’s a step a lot of people skip! Most gift bags have a front and a back. Look for the seam running along one edge; that’s the back of the bag. Make sure your tissue paper arrangement faces the front, especially if your bag has a design or logo.
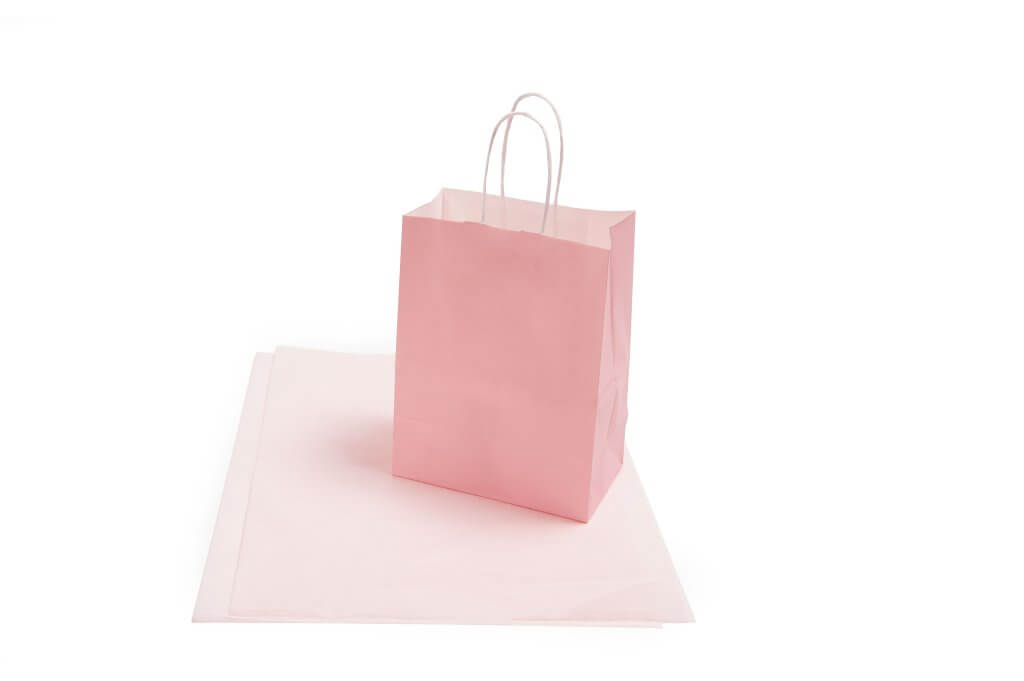
Step 3: Place Your Gift in the Bag
Set your gift down in the center of the bag. If you’re adding multiple items, place the heavier ones first. The goal is for the bag to keep its original shape, with the gift sitting fully hidden once the tissue paper is in place.
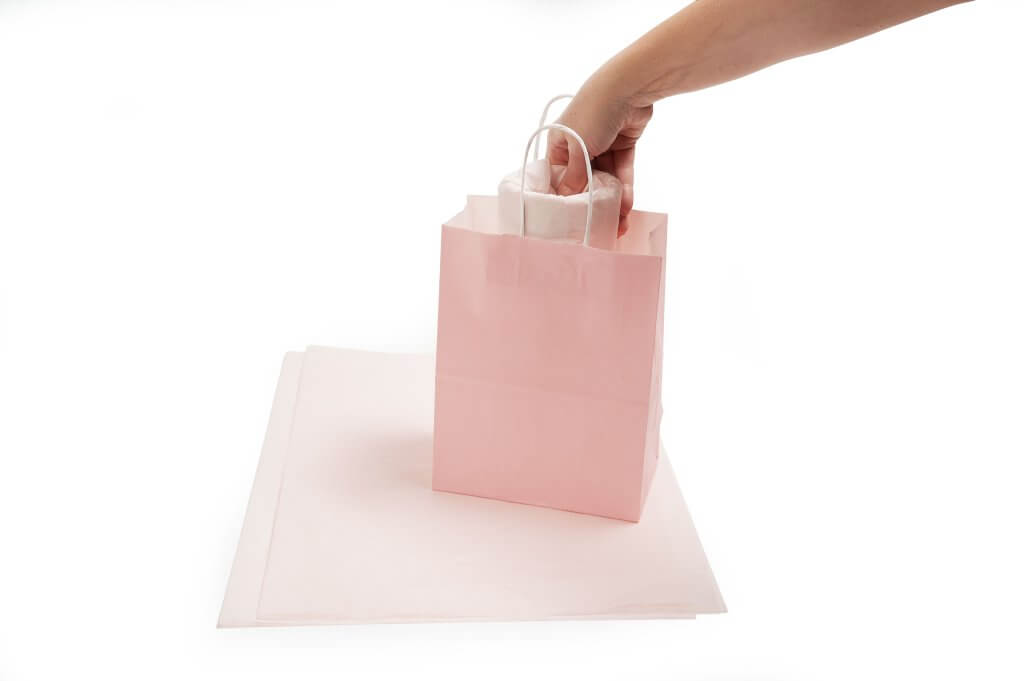
Step 4: Add Your Tissue Paper
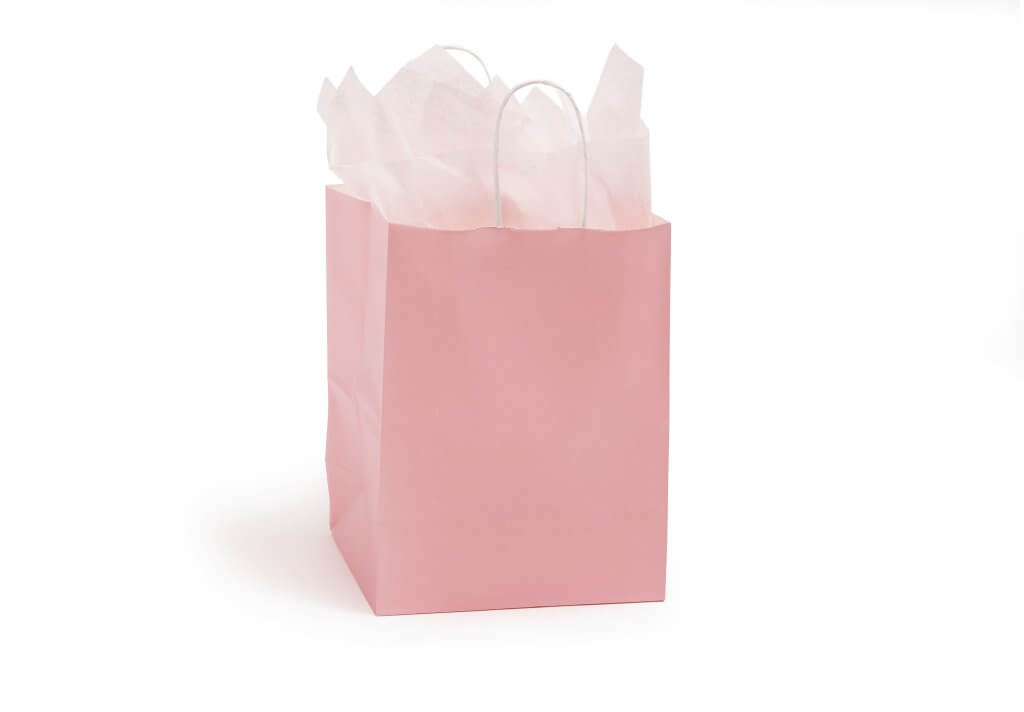
Open each sheet of tissue paper fully and give it a gentle shake to fluff it up. Then find the center of the sheet and pinch it between your thumb and forefinger. Here’s the trick: give it a little swirl as you lift it up!
That pinch-and-swirl motion makes all the points stand up beautifully in the bag. Place the tissue paper down into the gift bag, points up, and fluff as needed. Repeat with each additional sheet, layering them in for a full, blooming look that completely hides the gift inside.
Step 5: Finish With a Bow
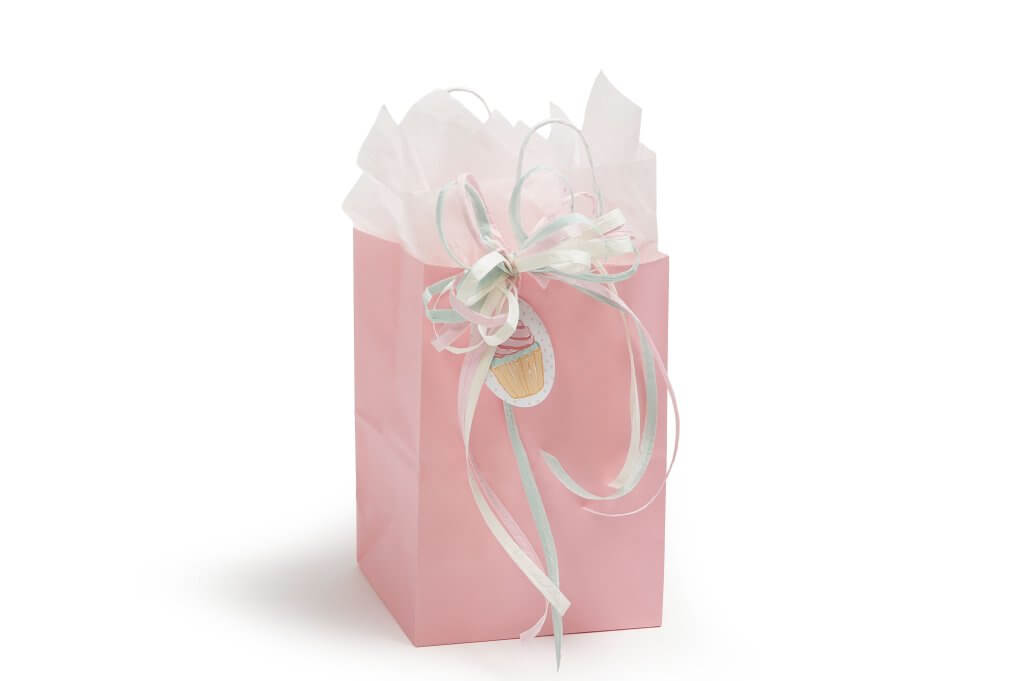
Top it all off with a cute raffia bow or a pre-tied satin bow attached to the handle. This little finishing touch takes your gift bag from nice to really nice, and it only takes a few extra seconds!
Choosing the Right Tissue Paper
Picking the right color ties the whole look together. Here are a few easy guidelines:
- Match your bag
Choose a complementary color or the same shade as your bag. - Match the occasion
Bright, bold colors for birthdays; whites and silvers for weddings; festive reds and greens for the holidays. - Mix it up
Layering two or three colors, or adding a patterned sheet alongside a solid, creates a really eye-catching effect.
Tip: White tissue paper is always a safe go-to. It works with just about any bag color or pattern!
Shop Tissue Paper & Gift Bags at Nashville Wraps
Now that you’ve got the technique down, it’s time to stock up! Nashville Wraps carries a huge selection of wholesale tissue paper in pack sizes to meet any need and available in a wide range of colors to match any gift bag, brand palette, or occasion.
We also carry gift bags, paper shopping bags, and printed gift bags in all sizes, plus pre-tied satin bows and raffia ribbon to finish every gift perfectly!