


Building great gift baskets is so much easier than it may appear! For one thing, we’re a one-stop shop for all your gift basket supplies, so finding what you need is a breeze. Plus, we’ve got a secret weapon you can use for easy basket building: the Basket Bench! Here are 4 easy steps for making your own gift baskets.

1. Start with a Solid Base
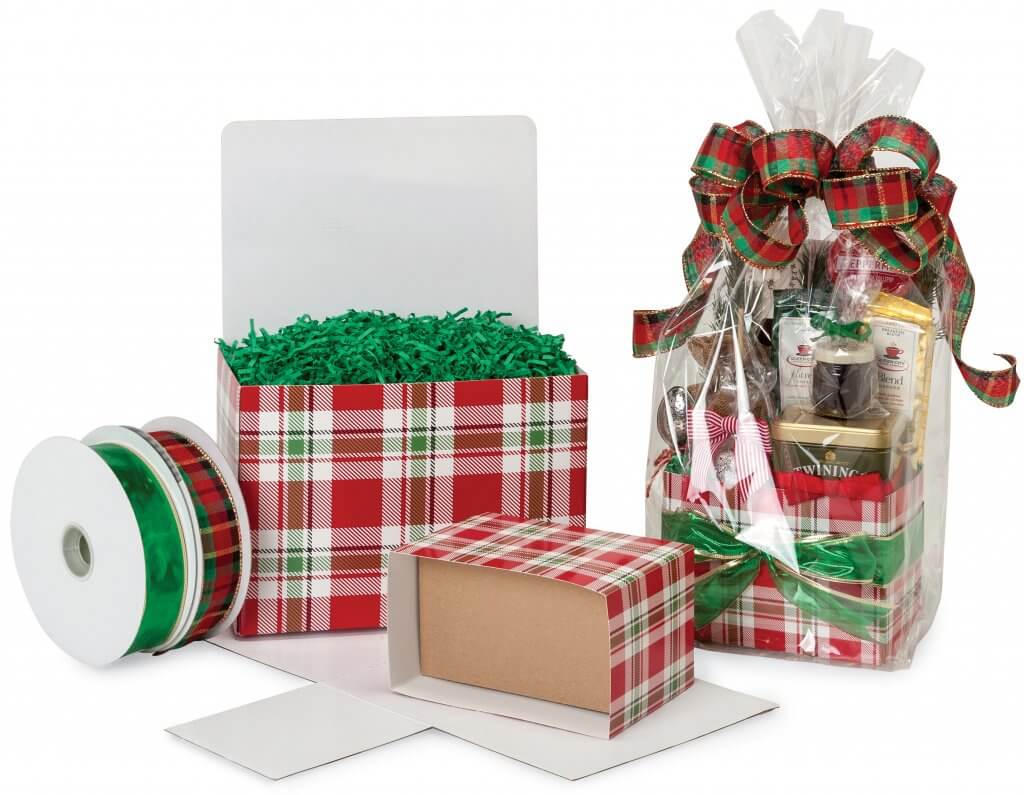
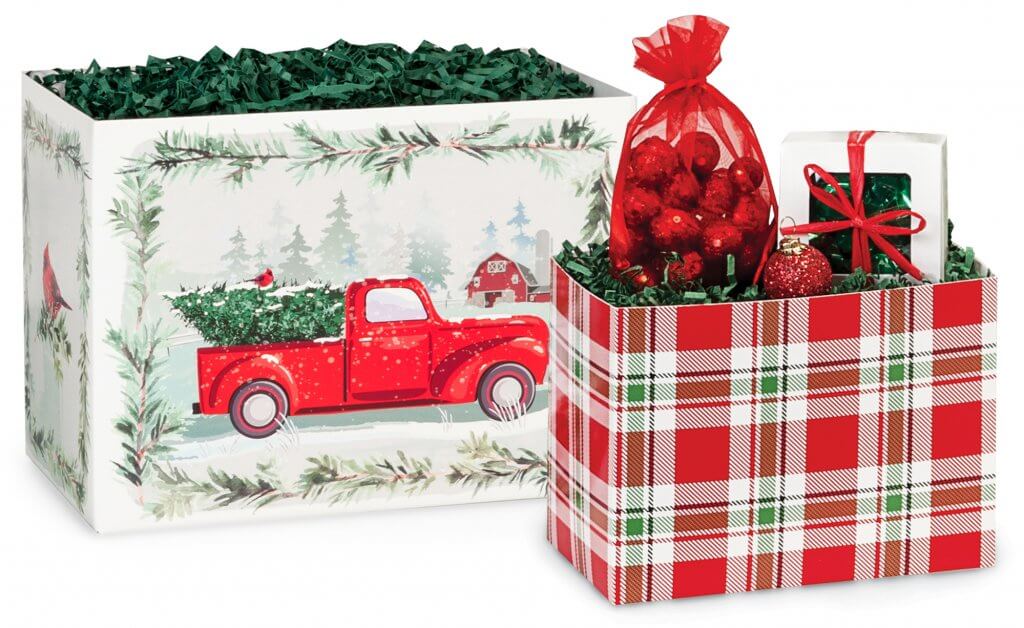
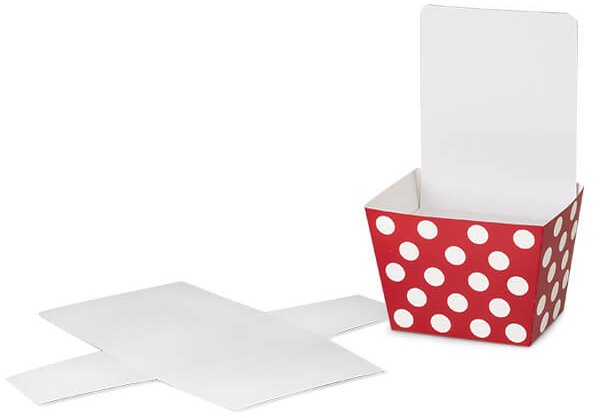
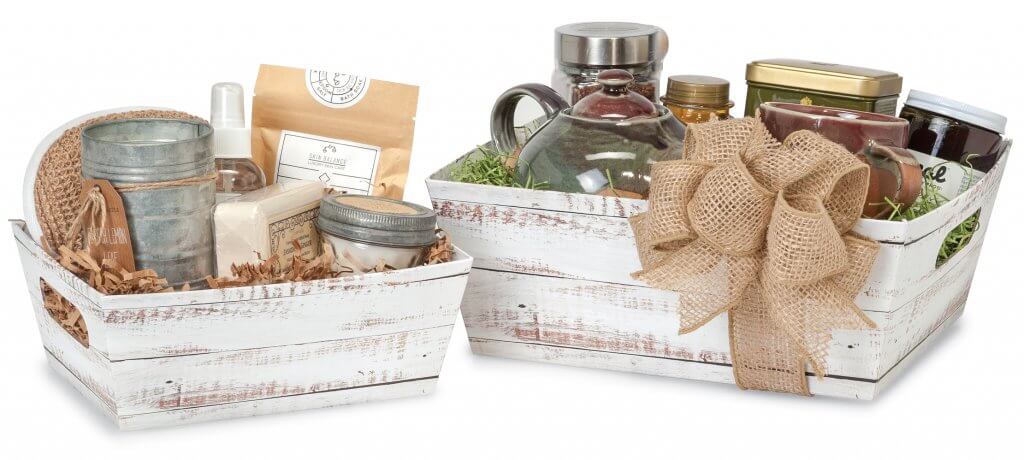
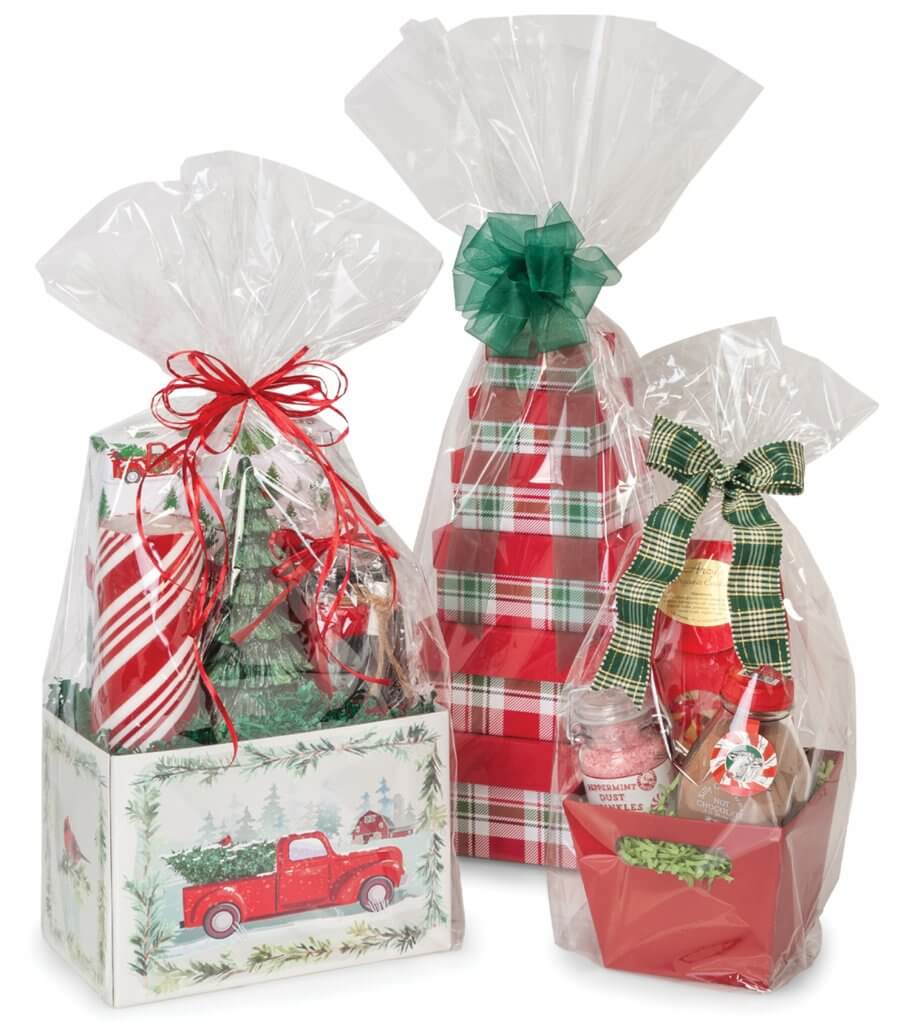
Your gift basket container sets the tone for your entire presentation. You might choose one of our sturdy cardboard Basket Boxes (above), popular for their colorful designs and ease of use (they store flat, so they take up very little space)! Or try an angled Market Tray or even a wooden crate – you can check out our other basket container offerings here.
2. Height Makes it Look Right
When it comes to building beautiful gift baskets, the pros like Shirley George Frazier of GiftBasketBusiness.com will tell you that height increases the perceived value and attractiveness of your finished product. It’s a good idea to use some kind of filler in the bottom of your basket container to display products to the best advantage. You can use crumpled up kraft paper, as Shirley describes in this wonderful post, “How to Make a Gift Basket.”
Our secret weapon for achieving the perfect gift basket height in a flash is the Basket Bench (below), which gives your product a level platform to stand on and minimizes the amount of filler needed.

Basket Benches are available with or without backs. The backs allow you to create a more vertical display of product fanning out from your container, as shown in the gift basket at the top right. Product can be attached to the back of the Basket Bench using glue dots or twist ties.

3. Just Add Gifts and Shred
Shirley recommends arranging your taller items in the back of your gift basket and your shorter items toward the front. You can tuck smaller gifts into boxes or fabric pouches.
A couple of handfuls of paper Shred basket filler placed in between items will help keep everything in place, as will a few strategically placed glue dots. Then just add some decorative touches here and there, and you’re done building your basket!

4. Wrap It All Up
Finally, wrap your finished gift basket or tower creation in a big cello bag to protect it and keep everything in place. And don’t forget the final finishing touch: a gorgeous bow! I recommend wired ribbon if you want to sculpt big, loopy bows. Watch the how-to video below for an easy way to create beautiful bows.
Shop NashvilleWraps.com now for all your gift-basket-building needs!


