 With a baby shower for a friend coming up, I hopped on Pinterest to try to find some cute decoration ideas. Looking through pages and pages of ideas, I kept coming back to tissue paper tassels, and I just knew I had to make them! But all of the how-to’s on Pinterest looked time consuming, so I began to think – How could I cut down on time? Then it came to me: I could use our recycled tissue paper shred!
Our tissue shred is 100% recycled, comes in 1 lb bags and is available in a variety of colors that are perfect for any occasion.
These easy and inexpensive tassels look great on banners, balloons, backdrops, anything you can think of. I’ve already made tassels for school classrooms and events (since they look like pom poms) and baby showers, but they are also perfect for wedding showers, birthdays, Christmas, Halloween, Valentine’s Day & Easter. The possibilities are endless!
Follow these 5 simple steps to make these fun tissue tassels:
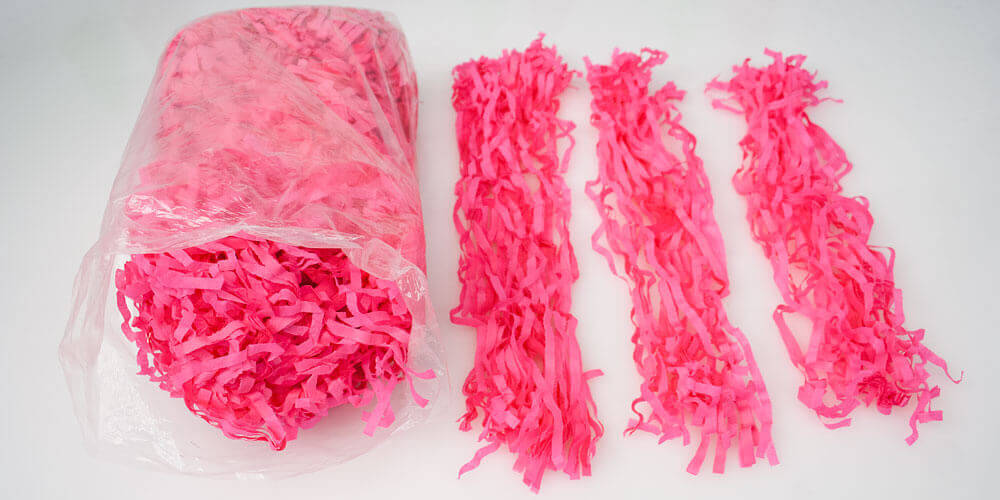
1. Grab a handful of shred and straighten it out so all of the ends are somewhat even.
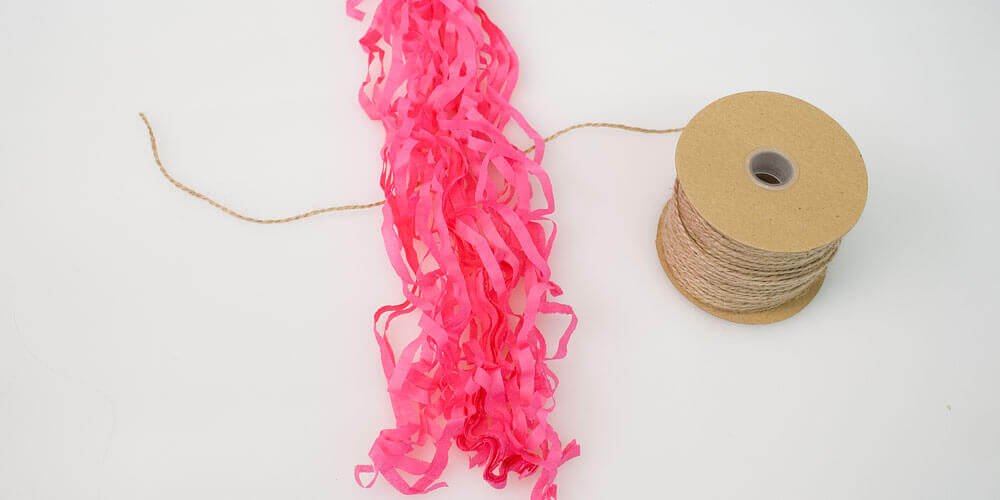
2. Fold the shred over a piece of string or twine. (I used twine because it is thicker.)
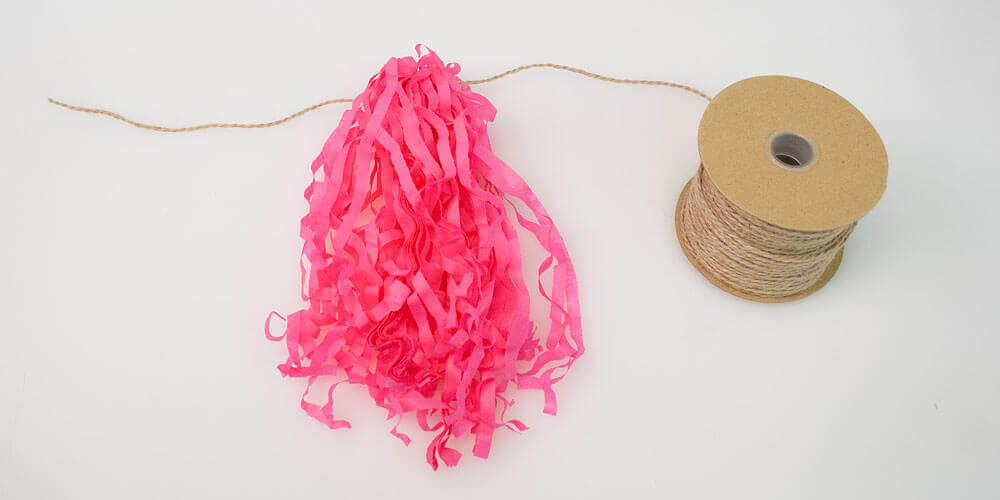
3. After the shred is folded, take string and tie it around the base of the tassels. (I used our Bakers Twine because it is very thin yet I could still see what I was doing.)
4. Continue until you get the desired amount of tassels you would like.
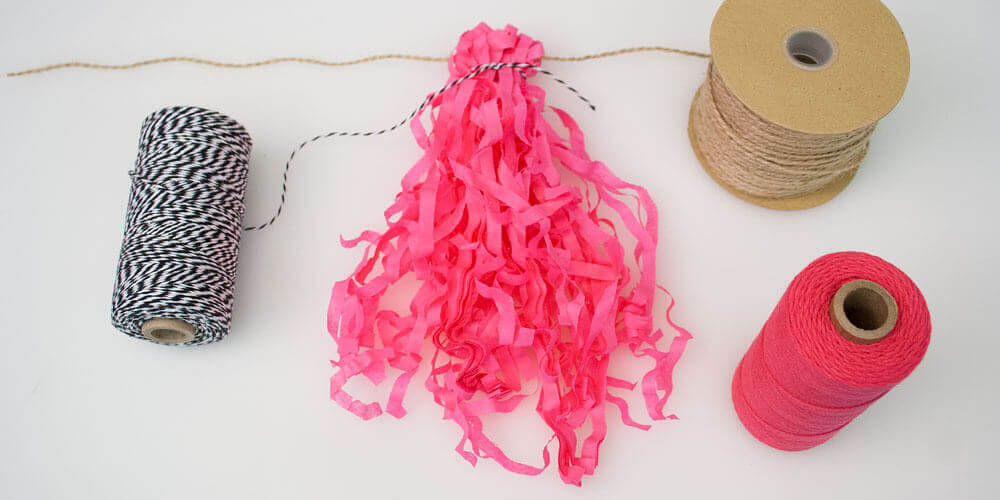
5. Give your tassels a quick haircut with scissors if there are any pieces that look out of place.
Although we offer tissue paper shred in a variety of colors, you may want a tissue shred color that we do not carry. If so, click here to find directions to make tissue tassels using our tissue sheets. Check out all of our great “Tissue Paper Ideas” on our Pinterest board.
Leave a Reply