


Want to know how to make a big bow with ribbon that looks full, polished, and professional? You’re in the right place! Whether you’re dressing up a wreath, a gift basket, or a box, a large handmade bow adds that finishing touch that makes all the difference.
Follow along with Laura from Nashville Wraps as she walks you through the whole process!
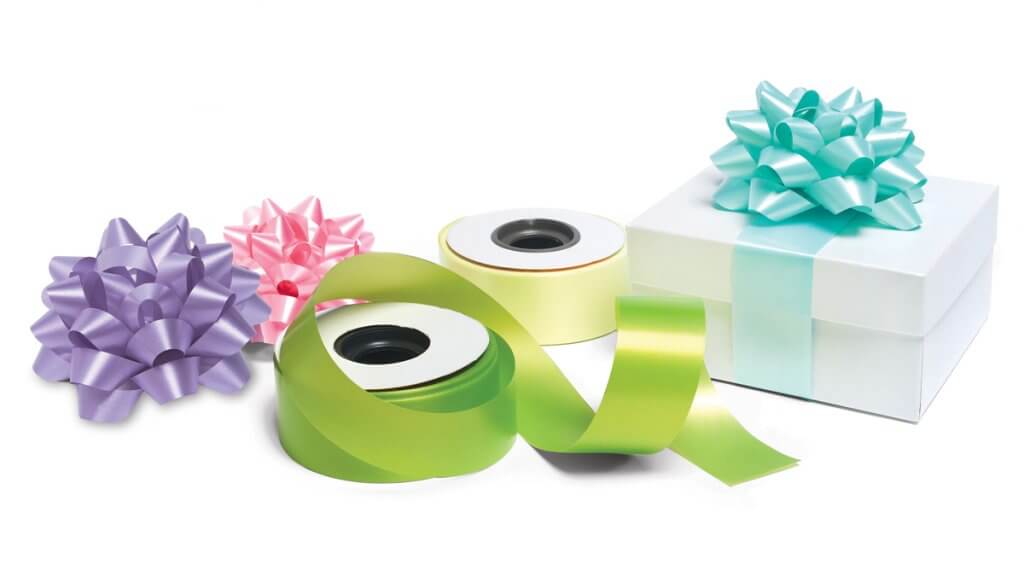
Supplies Needed
You only need a few things to get started:
- Ribbon of your choice
(Wider ribbon works best for large bows. Narrow ribbon = floppy loops!) - A pair of scissors
- 20-gauge wrapped wire, a twist tie, or a small scrap of ribbon
How to Make a Large Bow in 6 Steps
Step 1: Cut Your Tails
Start by cutting two ribbon tails to your desired length. These will hang down from the finished bow, so cut them a little longer than you think you need. Set them aside for now.
Step 2: Grip and Prep Your Ribbon
Pull a generous length of ribbon off the bolt before you begin. This helps prevent twisting as you work. Pinch the ribbon between your thumb and index finger where you want the center of your bow to be. This grip is your anchor point for every loop you make.
Step 3: Make Your First Two Loops
Twist the ribbon and form your first loop, then twist again and form a second loop on the opposite side. These two loops set the overall width of your bow, so size them accordingly. Pro tip: if your ribbon has a printed pattern, get in the habit of twisting as you go to keep the design facing outward.
Step 4: Build Out the Remaining Loops
Continue twisting and looping, making each new pair of loops slightly smaller than the last. This layered sizing is what gives the bow its full, rounded shape. Aim for about 5 loops on each side for a nice, full bow.
Step 5: Create the Center Loop
Once all your loops are made, twist the ribbon one final time and form a small loop right in the center. This loop is your hiding spot for the wire or tie in the next step. Cut the ribbon from the bolt.
Step 6: Wire, Secure, and Fluff
Thread your wire (or twist tie) through that center loop, wrap it around the entire bow, and twist it tight to secure everything in place. Then comes the fun part: pull each loop outward and adjust until your bow looks full and even. Add your pre-cut tails underneath, and you’re done!
Wrapping Up
And that’s all it takes to make a giant, beautiful bow! Once you get the hang of the twist-and-loop technique, you’ll be cranking these out in no time. Shop Nashville Wraps’ full selection of ribbon to find the perfect style for your next project… whether it’s a holiday wreath, a gift basket, or anything in between!

