


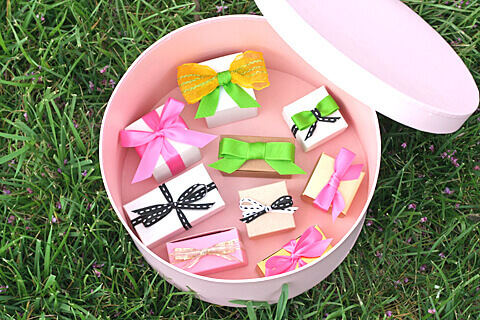
Nothing dresses up a gift quite like a simple bow. We’ve posted a few how-to’s showing how to tie a fancy bow, but the simple bow deserves some love too. We’d like to share a few tricks for tying a perfect, straight bow every time – it IS possible! And by the way, if you have them, fabric scissors are best for trimming the ends.
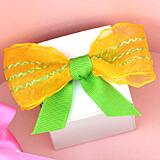

Depending on the colors you choose, this style can work well for a masculine gift. Start with two ribbons in different widths. First, make a ring shape with the wider ribbon, and flatten as shown (below, left). This becomes the bow. Lay the bow face down (one end of the ribbon will be inside the bow and one end will be facing you). Cut a piece of the narrow ribbon, long enough to make a band that wraps around the box, and lay it across the bow, then wrap a shorter piece around the two and tie a simple knot as shown (below, middle).
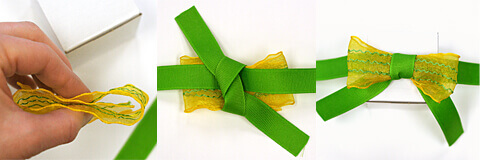
Pull tight and shape the bow until it looks good to you; this might take a bit of trial and error. You can pull more of the bow out on the sides to make it fluffier, as we did in the first photo. Then lay the bow across the box, trim and tape the ends of the band underneath the box, and trim the tails of the bow tie. (For another version of this style, see Ruffled Blog.)


This is a variation of the Bow-Tie bow above, using just use one size ribbon. You might use contrasting colors of the same size ribbon for a more playful look. Trimming the tails of the bow parallel to the edge of the box seems to look best with this style. We used a solid grosgrain ribbon here, but because this is such a simple bow, a pattern would look great too.

How many times have you tied a simple, shoelace-style bow and wondered why it wouldn’t lay straight? We did some experimenting and discovered that, not only is it possible to control whether the bow is straight or not, you can also control whether the bow lies parallel to the ribbon (at right) or perpendicular to the ribbon.

To make a parallel bow, place the box on top of the ribbon and fold the left end over the right as shown (we stapled together two contrasting pieces to make things easier to follow). Tuck the top ribbon under, then form a loop with the right side. Folding the loop down and to the left (see below), pull the left-hand ribbon down from the back on top of the loop, then tuck through the middle of the bow. When you pull the loops tight, the bow will lay parallel to the band of ribbon going around the box.


This style is especially handy when you are wrapping a longer rectangle. To make a perpendicular bow, follow the instructions for the bow above up until you are ready to wrap around the loop. This time, instead of pulling the left piece on top of the loop, pull it to the front first and THEN wrap it in front of the loop, and finally, tuck through the middle (see below). This allows the loops to turn sideways.


We love this tutorial for a classic bow that wraps around all four sides of a box and unties with one pull. Vary the look with wide or thin ribbon, and whatever color or texture the occasion might call for!
See all the ribbon used in this post
Grosgrain Ribbon – Organza Ribbon – Satin Ribbon

